Step 2: Build and train the model
AutoAI automatically analyzes your data and generates candidate model pipelines customized for your predictive modeling problem.
1.1 Specify basic model details
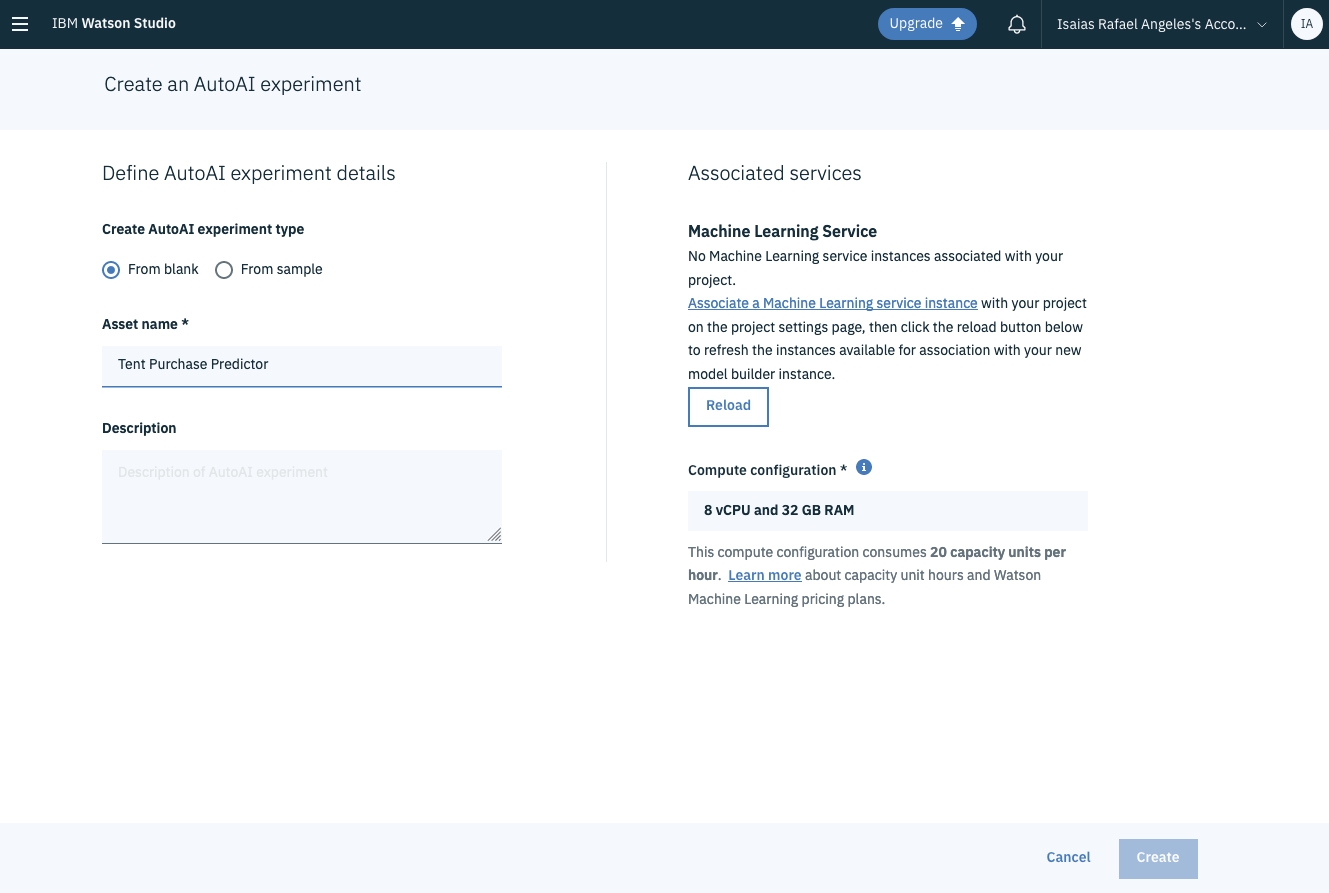
1. From the Assets page of your project in Watson Studio, click Add to project and choose AutoAI EXPERIMENT.

2. In the page that opens, fill in the basic fields:
Specify a name and optional description for your new model.

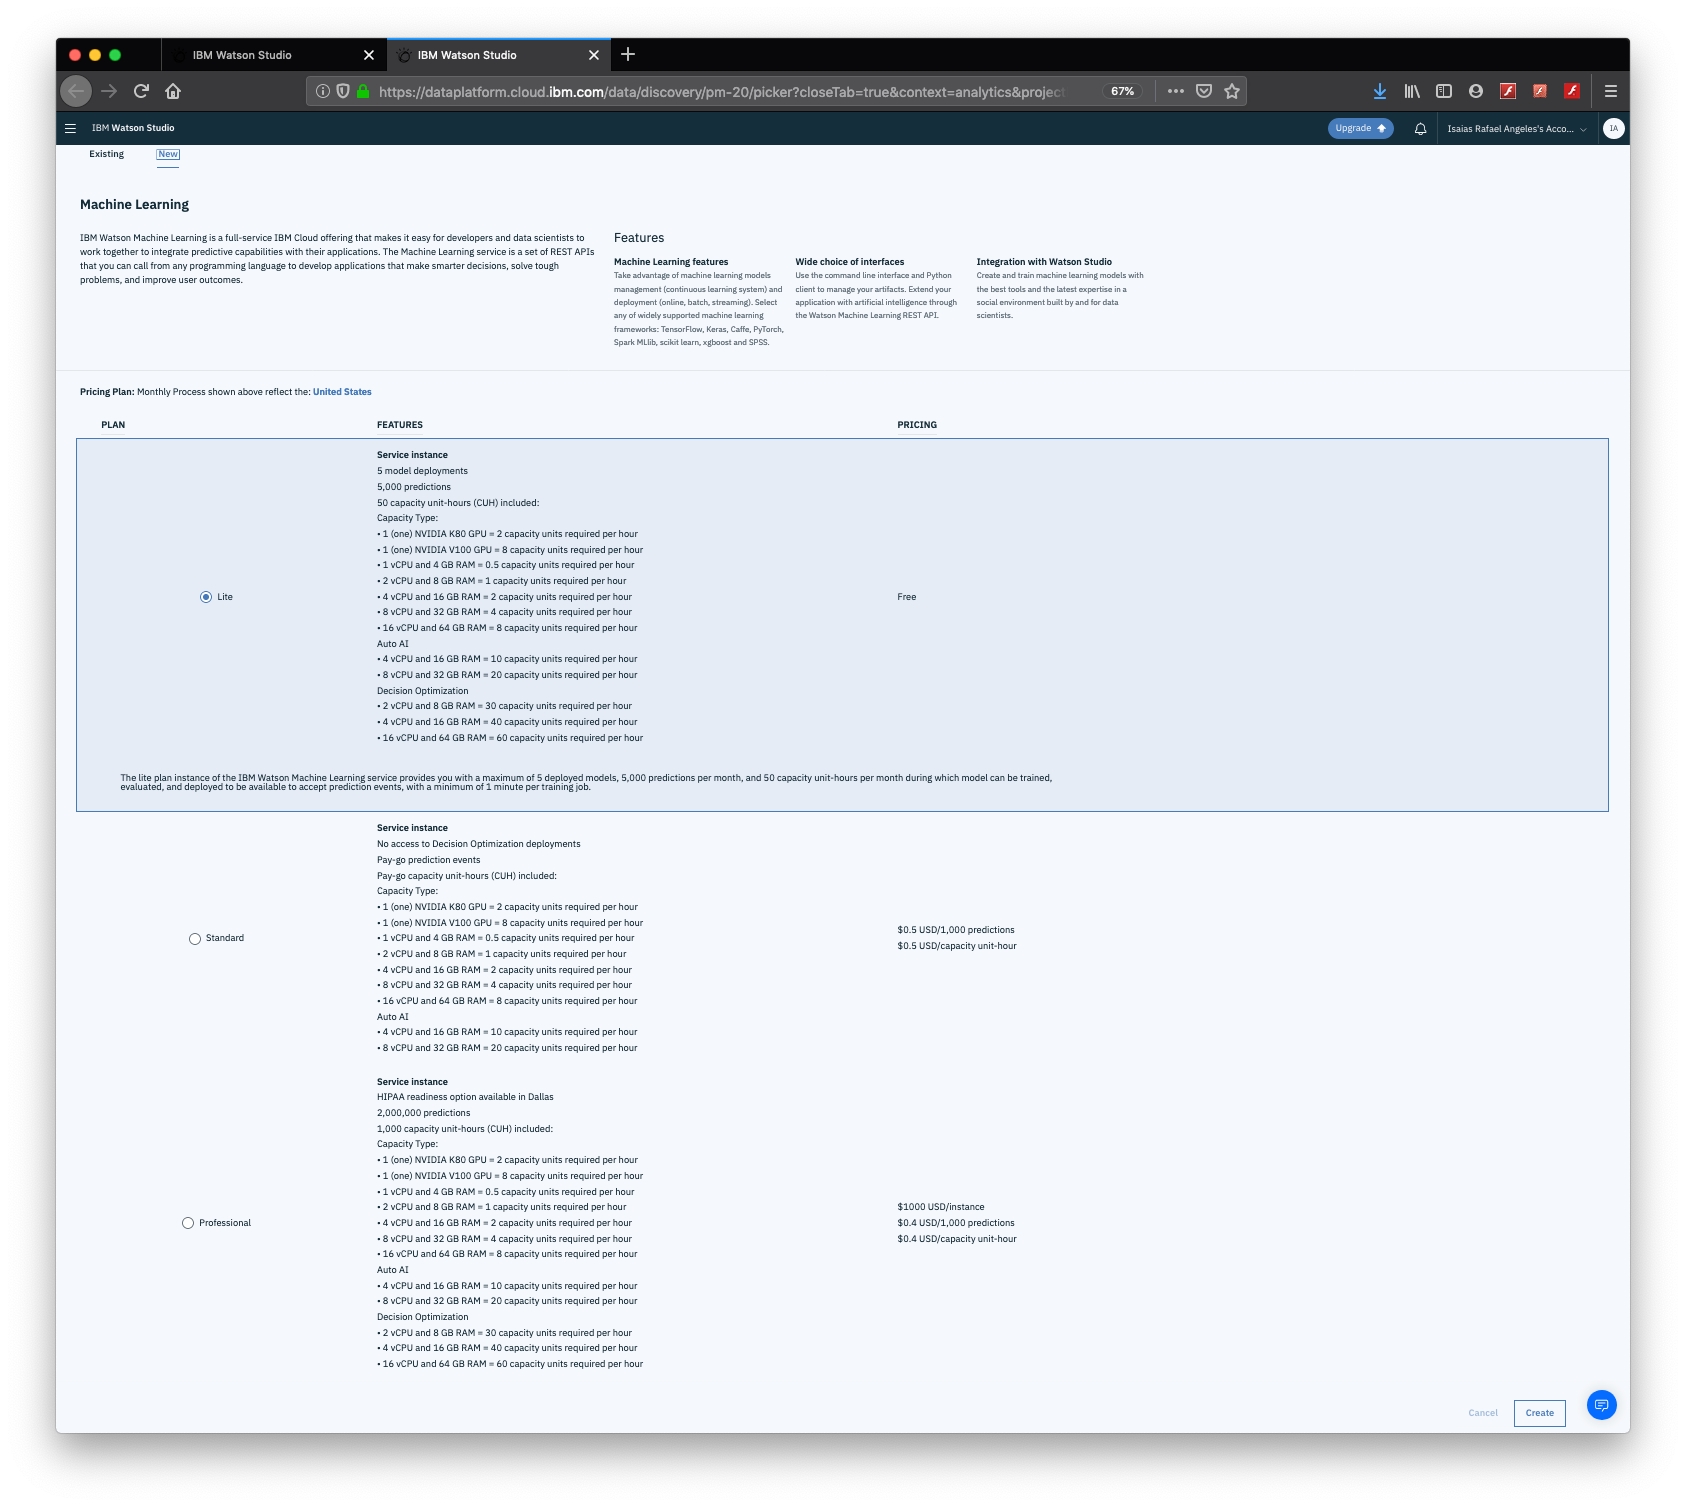
Confirm that the IBM Watson Machine Learning Service instance that you associated with your project is selected in the Machine Learning Service section.

3. Click Create.

1.2 Add training data
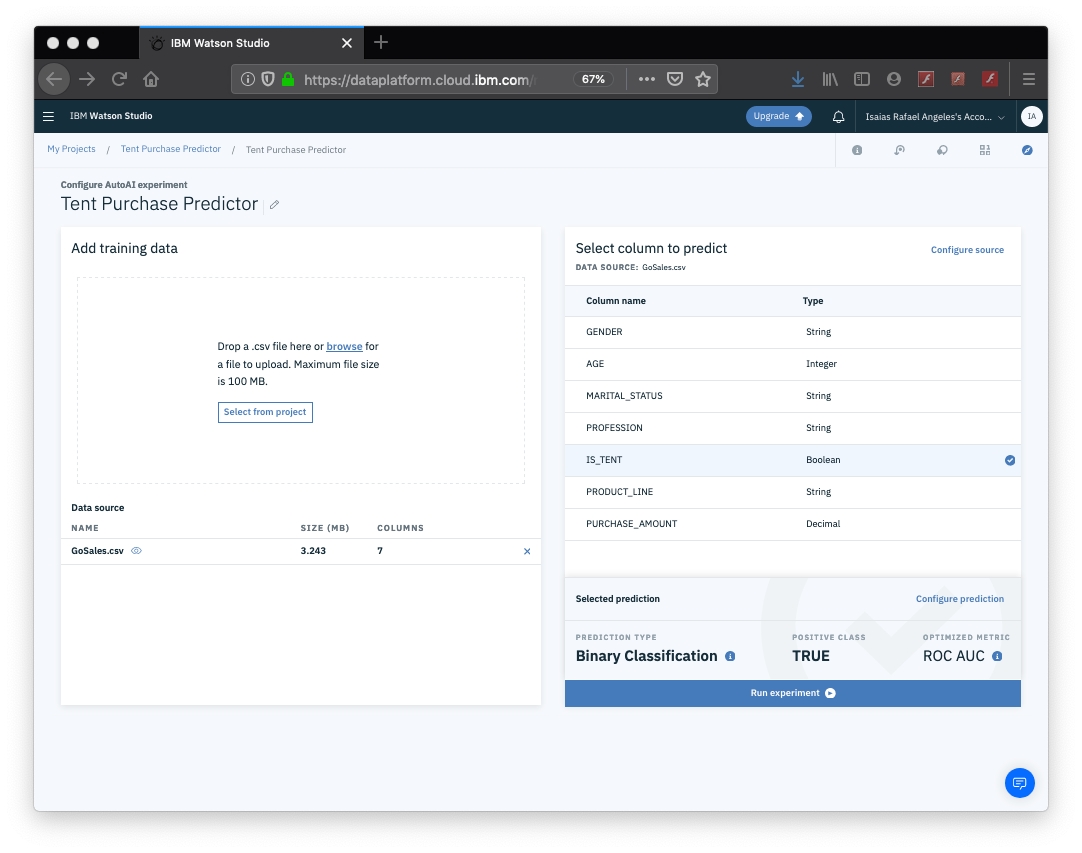
Upload the training data file, GoSales.csv, from your local computer by dragging the file onto the data panel or by clicking browse and then following the prompts.
1.3 Train the model
1. Choose IS_TENT as the column to predict. AutoAI analyzes your data and determines that the IS_TENT column contains True/False information, making this data suitable for a binary classification model. The default metric for a binary classification is ROC/AUC.

2. Click Run experiment. As the model trains, you will see an infographic that shows the process of building the pipelines.

For a list of estimators available with each machine learning technique in AutoAI, see: AutoAI implementation detail
1.4 Choose a pipeline
Once the pipeline creation is complete, you can view and compare the ranked pipelines in a leaderboard.

Choose Save model from the action menu for Pipeline 1. This saves the pipeline as a Machine Learning asset in your project.
Last updated
Was this helpful?